PDF p. 877 · 18-23
- 1.Loosely install the self-locking nut on the top of the damper.
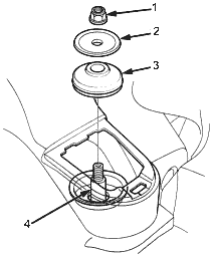
- 1. SELF-LOCKING NUT
- 2. DAMPER MOUNTING WASHER
- 3. DAMPER MOUNTING RUBBER
- 4. DAMPER ROD
- 2.Loosely install the flange bolt to the rear axle beam.
- 3.Raise the rear axle beam with a floor jack until the vehicle just lifts on the safety stand.
- 4.Tighten the flange bolt.
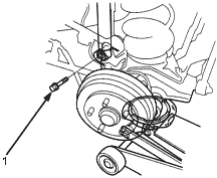
- 1. FLANGE BOLT. 10 x 1.25 mm, 54 Nm (5.5 kgf/m, 40 lbf/ft)
- 5.Tighten the self-locking nut.
- 6.Install the damper access panel.
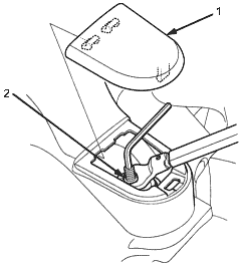
- 1. SELF-LOCKING NUT, 10 x 1.25 mm, Replace. 29 Nm (3.0 kgf/m, 22 lbf/ft)
- 2. DAMPER ACCESS PANEL
- 7.Install the rear wheel.
Damper Disposal
Place the damper on a level surface with its rod end extended and drill a hole 2 - 3 mm (0.078 - 0.118 in) diameter in the body to release the gas.
Front Damper
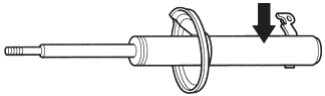
Rear Damper
